
Whenever my Mother would complain that she looked awful in photographs my Father would answer, “The camera doesn’t lie”, yeah he was a keeper all right, exactly the kind of husband someone with low self esteem didn’t need, poor Mom.
Dad was only partly right.
Whilst the camera doesn’t lie, it can be manipulated; the correct lens, pose, light source and camera angle can go a long way to making an otherwise unflattering portrait into a pleasing one, no matter what you look like or how old you are.
My worst are those revolting photos that other people take of you.
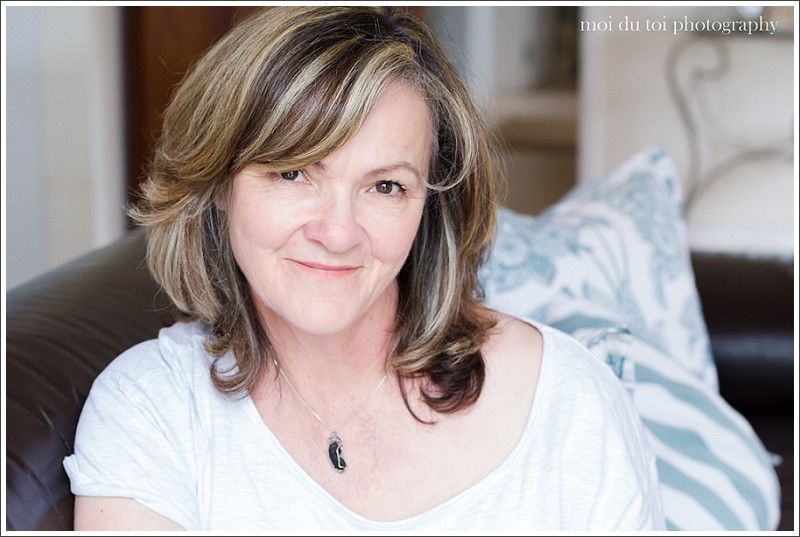
The kind that make you look as though you have 3 double chins, more wrinkles than a Shar-Pei and a spare tyre growing on your spare tyre and then, horror of horrors, they post it on Farcebook, er, I mean Facebook. Sometimes the only person you can trust to take a flattering image of yourself is you; here’s how you can do that with a DSLR in 10 easy steps…
First, find a flattering light source for the photograph you have in mind, indirect door or window light works pretty well. In plain English? If you can’t see a big patch of bright sunlight on the floor in front of the window then chances are the light is indirect and soft instead of direct, harsh and contrasty.
Remember, the better the light quality, the more pleasing the image is going to be.
You need to have, at the very least, a vague idea of how you’d like to compose the image and whether you’d like a portrait or landscape orientation.
Set a reasonably high aperture to ensure enough depth of field in case your focus is not spot on.
I normally stick to between f/4 and f/5.6. If it’s a portrait of more than one person, say 2 or 3 people grouped together, definitely start at f/5.6 and try to keep all the heads on the same plane of focus, in other words, keep them as close together as possible.
Place the camera on a tripod or firm surface.
Molto importante! Practise flattering poses.
It’s a good idea to have a large portable mirror on hand so you can practise posing before you start photographing and eliminate the poses that make you look fat, wrinkly, awful, it saves a heck of a lot of trial and error photographing-time too.
If you’re alone, use an object such as a laundry basket, ironing board or something similar to act as a stand-in for yourself, usually a tallish object works pretty well.
If you have another body around then use them as a stand-in instead and focus on one of their eyes.

Focus on the stand-in object more or less where you think your face/eye is going to be and press the shutter half way down to lock focus.
Move the switch on the side of the lens from AF (lens auto focus) to MF (lens manual focus).
This will ensure that when you’re ready to take the photograph and press the shutter again, the lens will not refocus but remain where you focussed previously.
If you don’t own a remote control, set the self timer on your camera to at least 10 seconds; this will give you a 10 second grace period before the camera takes the photograph. It unfortunately also means that you need to dive into position like a bat out of hell before the 10 seconds are up, which often results in a frantic/deer-in-the-headlights facial expression.
First prize is owning a remote control, they’re not terribly pricey, the Canon one retails at about US$20 / ZAR320.
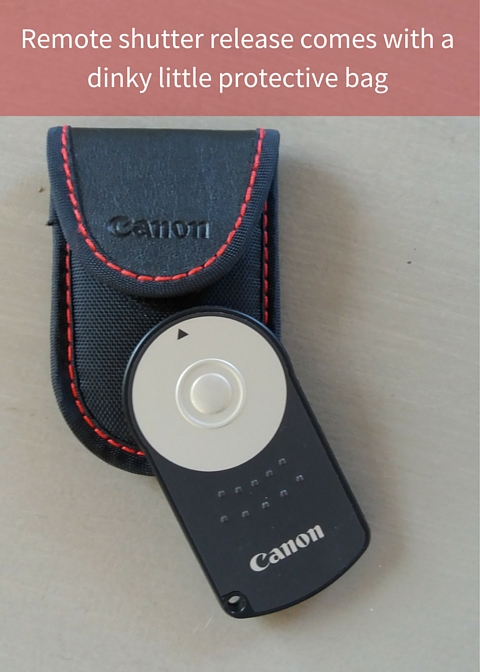
With the remote shutter release, you can get yourself into position at your leisure and when you’re ready, just press the button. Remember to hide the remote under your leg, down your blouse even chuck it out of the scene if necessary or it could end up spoiling your photograph.
Take the time to wash your hair, wear a flattering colour shirt and some make-up for the ladies, for the boys too – if that’s how you roll.
Come on peeps, there’s no point in going to all that trouble and then not bothering to do your hair or lash some mascara and lipstick on!
Take a couple of shots and if none of them look like keepers, keep trying till you are happy.
It takes a while to warm up to the process and you do feel like a bit of a twit in the beginning but just persevere, you’ll eventually get into the swing of things.
Here ends this post on Self Portrait Photograpy Tips, Part I – The How; my next tutorial post will be Part II – The Why.
As always, remember to like, share and comment below.
Fake it ’til you make it,


What a charming, wonderful tutorial! 🙂 Thanks for sharing your knowledge.
LikeLike
You are most welcome Dina, I’m glad it helped you 🙂
LikeLike
Oh I am so late to this party! Lovely work, Moira!
LikeLiked by 2 people
Thanks Carissa
LikeLike
Hello gorgeous friend. Love your self portraits.
Have a beautiful day.
🙂 Mandy xo
LikeLiked by 1 person
Thanks Mandy, now you know how to do it, it’s your turn. No cell phone selfies allowed, use your proper camera, nothing covering your lovely face just a big smile. xxx
LikeLike
Thanks Moira – the easy way out is to avoid being photographed! I do that these days.
LikeLiked by 1 person
🙂 That’s another way of solving the problem.
LikeLiked by 1 person